

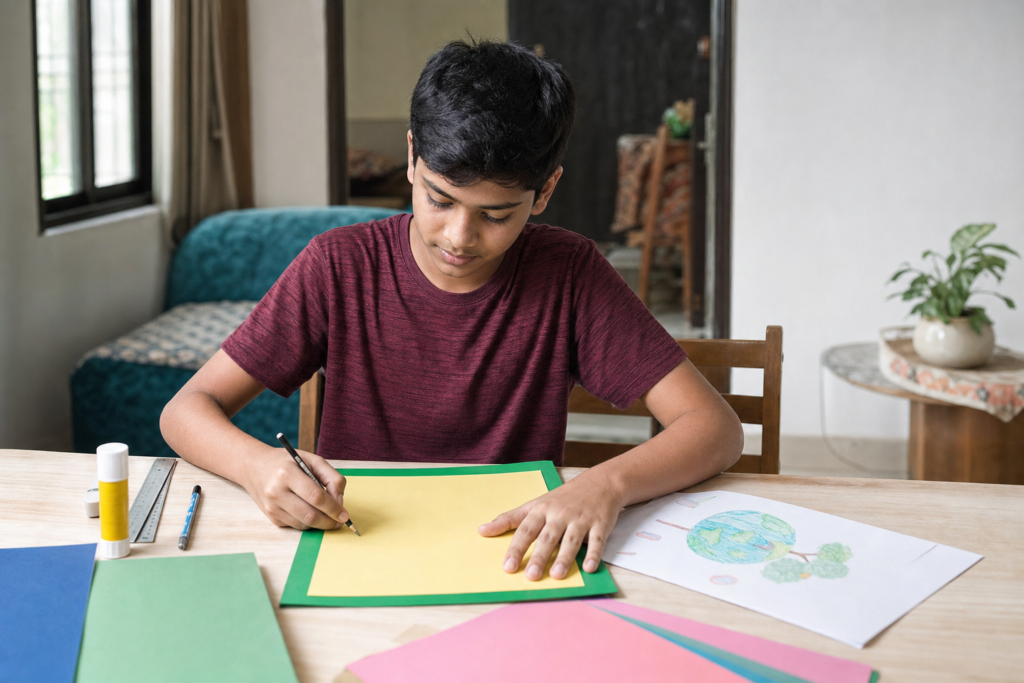
Have you collected information for a project but do not know how to arrange it? Learning how to make a school project file is simpler than it looks. A good file presents your ideas in a clear order, uses your own words, and helps the reader understand what you learned. It does not need expensive decoration. Careful research, neat pages, useful pictures, and a final check matter much more. This guide explains the complete process in easy steps for students in Classes 6 to 12.
What Is a School Project File?
A school project file is an organised record of your work on one topic. It may include facts, explanations, observations, drawings, maps, tables, photographs, calculations, or survey results. Your teacher may give a fixed format, so always read the instructions before starting.
A project is different from copied notes. It should show that you understood the topic, selected useful information, and presented it logically. For activity-based learning, you can also explore the school’s teaching methodology.
School Project File Format and Page Order
The exact order can change by subject or teacher. When no special order is given, this structure works well:
| Page | What to include | Purpose |
|---|---|---|
| Cover page | Topic, name, class, section, roll number, subject and session | Identifies the project |
| Certificate | Only if your teacher provides or requests it | Confirms completion |
| Acknowledgement | A short thank-you note | Credits people who guided you |
| Index | Section names and page numbers | Helps readers find information |
| Introduction | Topic, aim and scope | Explains what the project covers |
| Main content | Research divided into headings | Presents your learning |
| Findings or conclusion | Main lessons in your own words | Closes the project clearly |
| Bibliography | Books and websites used | Credits information sources |
How to Make a School Project File in 10 Steps
1. Understand the question
Underline the subject, topic, required length, last date, file type, and any compulsory sections. Ask your teacher if the instructions are unclear. Do this before buying materials or researching.
2. Turn the topic into small questions
Suppose your topic is “Water Conservation.” Ask: What is water conservation? Why is it needed? How is water wasted at home? What can students do? These questions become your headings and stop the project from becoming a random collection of facts.
3. Collect reliable information
Begin with your textbook and class notes. Then use library books and trustworthy public websites. The school’s digital library page can help students understand available reading support. Do not depend on the first search result alone. Compare important facts across more than one source.
4. Make a rough outline
Write your headings on a spare sheet and place two or three points under each. An outline saves time because you know what every page must explain. It also helps you avoid repeating the same idea.
5. Write in your own words
Read a small section, close the source, and explain the idea as if you were telling a classmate. Keep sentences short. If a special term is necessary, explain it. Never copy a full paragraph from a book or website. Copying does not show learning and may create copyright or academic honesty problems.
6. Prepare the front pages
Keep the cover page simple and readable. For the acknowledgement, two or three sentences are enough. Example: “I thank my subject teacher for guidance and my family for helping me collect materials. I also used the books and websites listed in the bibliography.” Change this to match the help you actually received.
7. Add useful visuals
Use a chart, labelled drawing, map, timeline, flowchart, or photograph only when it explains something. Give each visual a short caption. Leave enough space around it. A colourful border on every page is not necessary.
8. Number the pages and complete the index
Number content pages only after arranging them. Then fill the index with correct page numbers. If pages move later, update the index before submission.
9. Write the conclusion and bibliography
The conclusion should answer: What did I learn? What is the main message? What useful action can follow? In the bibliography, include the book title and author, or the organisation name, page title, web address, and date you accessed it. Do not list sources you did not use.
10. Check the complete file
Read every page aloud once. Correct spelling, missing labels, repeated points, loose sheets, wrong page numbers, and untidy corrections. Confirm that every instruction from your teacher has been followed.
Materials: Simple or Decorative?
| Choice | Best for | Watch out for |
|---|---|---|
| Plain A4 sheets | Most written projects | Use consistent margins |
| Coloured sheets | Section dividers or charts | Dark colours make writing hard to read |
| Printed pictures | Real objects, places or processes | Add captions and source details |
| Hand drawings | Diagrams, maps and creative subjects | Label neatly in pencil first |
| Decorative items | Small highlights | Too much decoration can hide the content |
Common Project File Mistakes
- Starting decoration before planning the content.
- Copying long passages without understanding them.
- Using several fonts, colours, or heading styles.
- Adding pictures that do not support the topic.
- Forgetting captions, page numbers, or source credits.
- Writing the index before the pages are final.
- Making factual claims without checking them.
- Submitting without reading the teacher’s rubric or checklist.
How to Plan Different Types of Project Files
Science project
Separate the question, prediction, materials, method, observations, result, and precautions. Record what actually happened rather than changing observations to match an expected result. Use correct units and label every diagram.
Social science project
Arrange information by time, place, cause and effect, or theme. Maps, timelines, and comparison tables can make relationships clearer. Check the date and source of historical or civic information.
Mathematics project
State the problem, show the method in order, and explain what the answer means. Include rough trials only when they help the reader understand your thinking. Recheck calculations and units.
Language project
Focus on original writing, correct grammar, and clear organisation. For an author, poem, story, or local-language topic, separate background information from your own response. Credit translations and quoted lines according to the teacher’s instructions.
A Two-Week Project Timeline
- Days 1–2: Understand the task, choose the focus, and get the plan approved if required.
- Days 3–5: Read sources and collect notes, visuals, or observations.
- Days 6–8: Write the first draft in your own words.
- Days 9–10: Prepare diagrams, tables, captions, and front pages.
- Days 11–12: Arrange the final pages and complete the index.
- Days 13–14: Proofread, repair weak sections, and submit without a last-minute rush.
Expert Tips for a Project That Is Easy to Read
- Use one idea per paragraph. A reader should understand the point quickly.
- Create a heading style. Keep all main headings alike and all subheadings alike.
- Show your process. If you conducted an experiment or survey, explain the method before the result.
- Separate fact from opinion. Use phrases such as “The source states…” and “I observed…” where helpful.
- Protect original work. Keep a photo or scan of the completed file before submission.
Frequently Asked Questions
How many pages should a school project file have?
Follow the number given by your teacher. If no number is given, cover the topic fully without adding filler pages.
Should a project file be handwritten or printed?
Use the method requested by your teacher. If it is not stated, ask before starting because rules differ by class and subject.
What should I write in the acknowledgement?
Thank only the people who genuinely guided or supported the work. Keep it brief and specific.
Can I use pictures from the internet?
Use permitted images from reliable sources, add a caption and credit, and follow your teacher’s rules. Your own drawings or photographs may be better.
How do I make a bibliography for a school project?
List each book or website you used with enough information for the reader to find it. Keep one consistent format.
Conclusion
Knowing how to make a school project file means planning first, researching carefully, writing in your own words, and presenting ideas in a clear order. Begin with your teacher’s instructions, make a rough outline, and complete one section at a time. Before submitting, use the checklist above and ask a teacher or family member to read the file once. For more ways to learn through practical work, see the school’s learning approach.